![]()
T R A N S C R I P T
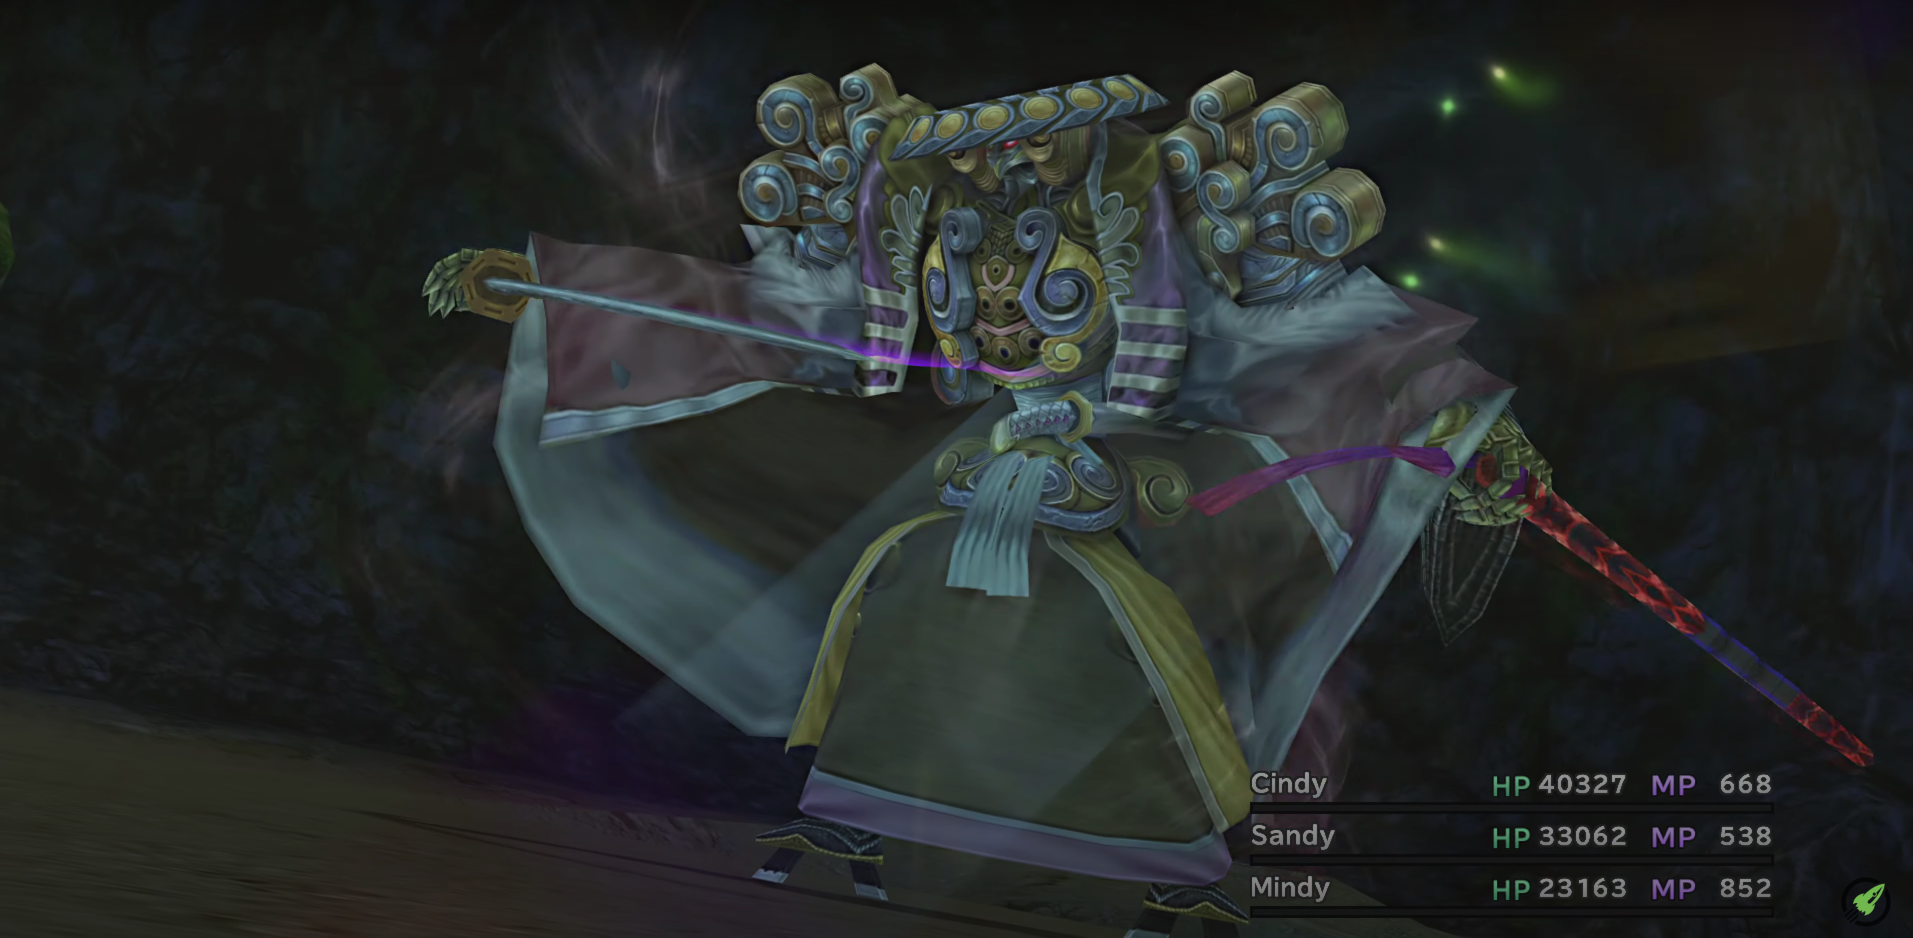
Hello and welcome back to the one hundred and eighty-eighth episode of this Final Fantasy X HD Remaster playthrough. So today, we’re looking for next Superboss Aeon and that one will be the Dark Yojimbo. Located at the Cavern of the Stolen Fayth, just down here. So, let’s switch Yuna out for Auron and equip his Masamune for the First Strike Ability, because we’re gonna get ambushed. And, this will consist of five battles. We have to work our way from the back of the cave, back to the entrance. Fight our way out. Let’s even bring in Wakka, because we’re gonna rely heavily on his magical Attack Reels. Let’s get it on! Let’s start off by Grand Summoning Anima and casting Oblivion. Summon Valefor to take his attack, cause that Wakizashi is very problematic and it seems to land quite frequently. We’re gonna use Auto-Life as well when we get the chance because like I said, that Wakizashi attack will KO us all in one hit, nine times out of ten. It’s also a good way to get Wakka’s Overdrive gauge filled. We’ll Entrust Wakka, and more than once that’s for sure. Yeah, we might just Summon Ifrit. Can’t get Wakka to line up for an attack. Ixion, sacrifice yourself. There we go Attack Reels. We need all of em’ to land for max damage.
Maybe Wakka’s been Slow’d. Yep, that’s why he’s not lining up. Awe no. Hmm, he has to just die then. Now we’ve weakened Dark Yojimbo. Hit Wakka please. We’ll Grand Summon the Magus Sisters, why not. We can’t survive the Zanmato, the character’s that is. At least we can dish out a Delta Attack. Nice! C’mon hit Wakka, there we go. Down goes the first wave of Dark Yojimbo. A little longer then I would’ve liked, cause of Wakka getting Slow’d. We’ll see how it pans out from here. So from now, I don’t think we’ll get ambushed. Nice hit there Yuna. Bow to Wakka. Awe, that’s not good. Hmm, what should I do? I’ll take the risk and go for a Mega-Phoenix, but if It’s a Wakizashi we’re screwed! Awe no way. Very nice Yuna. Down goes the second wave of Dark Yojimbo. We’re gonna run back to the Save Sphere to heal up between battles. Nice Yuna and down goes the third wave of Yojimbo the Dark! Quickly race back and heal. Ow and down falls the fourth wave of Dark Yojimbo, and close though. Alright, this time we’re not gonna run back, we’ll just heal up. Not down there are you? The fifth and final fight, let’s get it on. Tidus has got a different sword there. Oh no, that’s probably what he’s got equipped. Ah, hoping that didn’t happen.
Ah, we’re gonna have to play a little bit smarter from here then. Well that’s good, Kozuka Rikku. Don’t hit Wakka, yes. I’m gonna skip, because I feel like that Zanmato will definitely be next. Awe lucky, we would have lost right at the very end. Awe no pressure there. We’ll Summon Valefor to take that Zanmato. And down goes the fifth wave of Dark Yojimbo and I believe that’s it, completely destroyed! It was an honour. Some respect amongst one another there. So from here, we’re gonna go back to the Calm Lands Arena to continue some farming activities. That was quite enjoyable. There was two occasions I could’ve probably lost then. Near the start and near the end. So, luck definitely played a factor in the first near loss. So, we’re gonna start off by trying to get three Level Four Key Sphere’s from Nemesis. We got all three! Now, we’re gonna get forty Mana and Speed Sphere from Kottos. Moving on to Pteryx, we wanna defeat it fifteen times with an Overkill. Which should be very simple, that way we can get, okay, maybe not so simple. Okay well, It should only take two hits. Sigh! We’ll get thirty Evasion Sphere. I don’t like that, though, I do like that. Alrighty, we will land em’. Getting some better lands now. Gawd that Beak of Woe. It’s like hardly missing now, five more to go.
Hang in there Yuna. Four misses in a row. C’mon Rikku, seal the deal, ewe. One more! Alright, let’s equip our Triple and Double AP Weapon’s and we’re gonna farm Sphere Level’s for all characters simultaneously from Don Tonberry. Yeah so, let’s deflect Haste on Don Tonberry so it actually moves. Oops! Alright, let’s see what sort of gains we got. Oh no, Kimahri didn’t have it equipped, that’s not good at all. Mm, that’s very inconvenient right now. Let’s just do a few for Kimahri. Ah! That a-hem, that’ll do. There we go. Restock on our Phoenix Down and we’re gonna start activating those Evasion Sphere’s. Unlock a couple of eh, Level Four Key Sphere’s. Full-Life Ability learned. Um yeah we can, that! I think we’ll go around the outside. No, we’ll go there. Yeah, we’ll go there later. Alright so, the same deal as last episode. I’m gonna bring all the characters to Wakka’s point and only activate what I just ah, done then. I do notice there is a Luck ah Node there. So, we’re gonna have to use some of the Master Sphere’s to unlock a couple. But that’s about the only difference and I’ll have to farm a couple more Speed Sphere’s probably. So with that said, their’s a ‘Traveller’s Save Sphere‘. I hope you enjoyed this episode and I’ll see you on the next!