![]()
T R A N S C R I P T
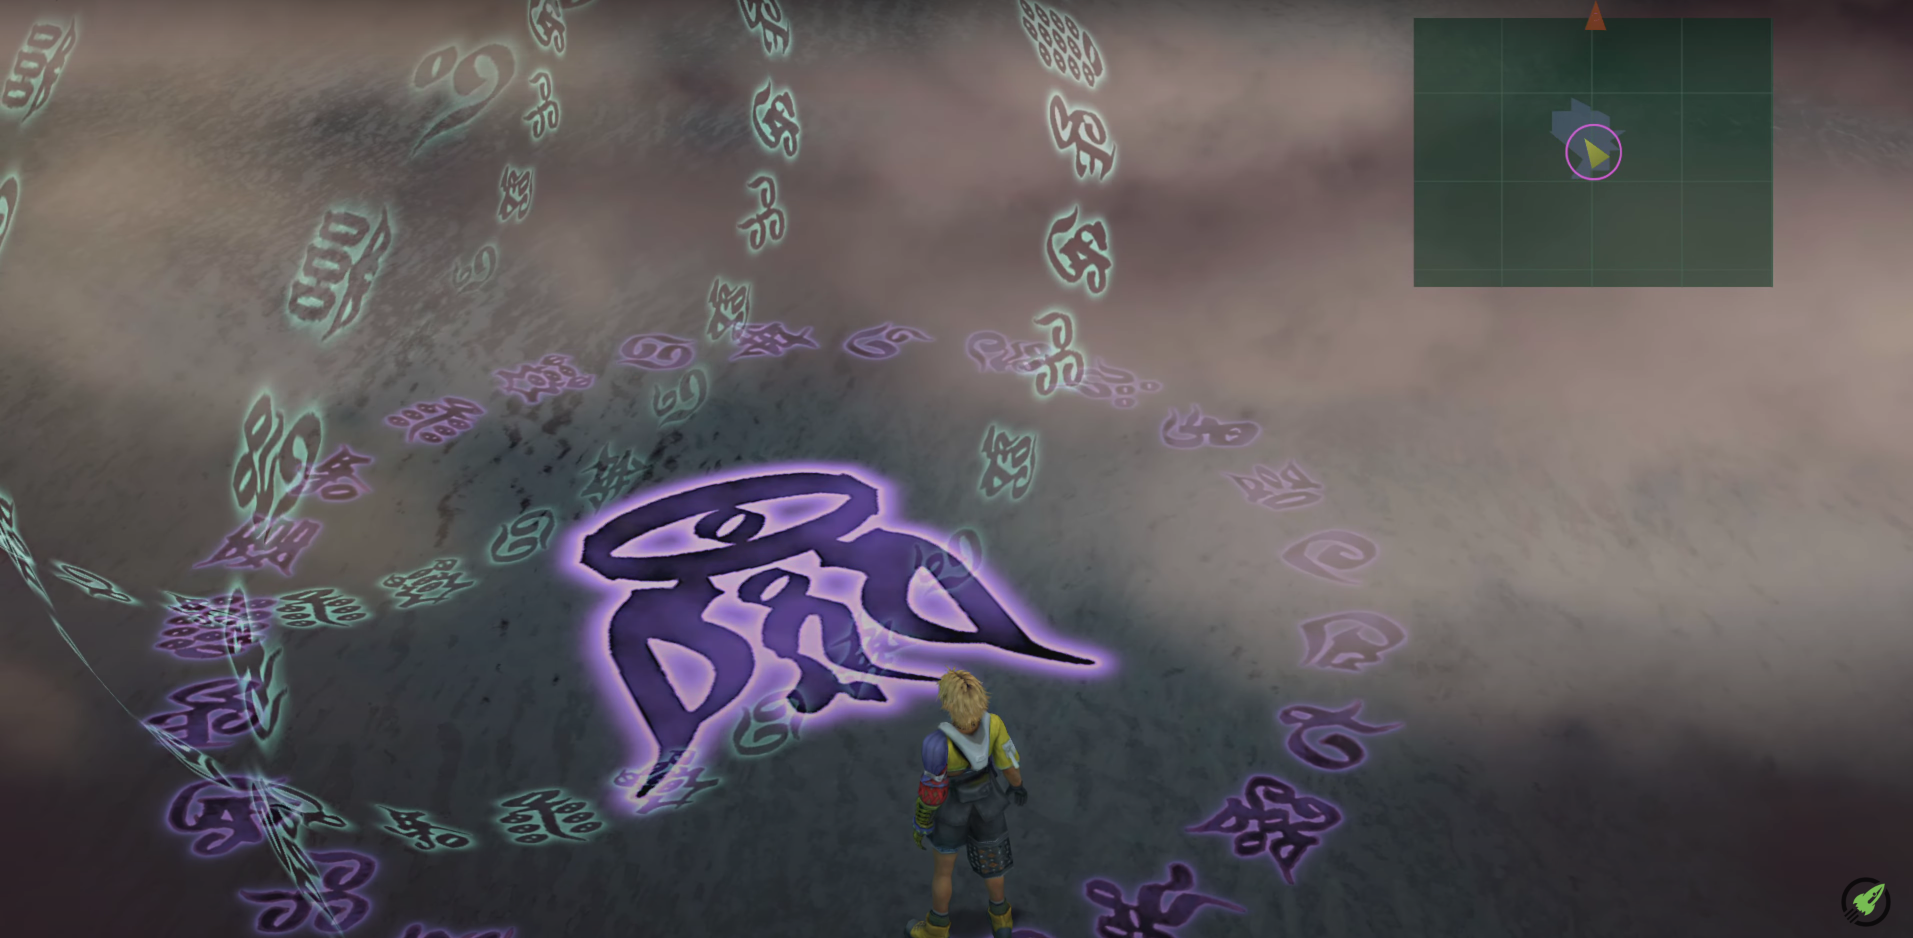
Hello and welcome back to the one hundred and thirty-ninth episode of this Final Fantasy X HD Remaster playthrough. So, we’ve entered the Sea Of Sorrow within Sin and the minimap is blurred out, so we have to fill in the gaps. Fortunately, I know which direction to go so we’ll save a little bit of time there. We won’t get stuck and collect the chests along the way, whilst fighting hard fiend’s for the most part. Taking advantage of the Musk item from the Ahriman. Adamantoise, we got a combo for you buddy okay. Let’s test out Yuna’s new Holy attack. It’s got a fair bit of ‘HP’. Taking on Gemini and a Reaper! Very nice there Yuna. Take that Lulu! Hopefully, we can get plenty of Ahriman’s like that, in threes. It would serve two purposes. Getting through quickly and collecting Musk. Oh, It’s great to have Holy!
Yuna’s now quite violent. Let’s go back this way, forgot to get two chests. I think we just picked up a Tetra Shield which is awesome. In this chest there is a Phantom Ring. We’re gonna play it safe here and run away from the Behemoth King. We could use a eh, Shell to raise our Defense, but I’m not gonna risk it. Not when we’re this far in. Something to raise defense anyway. You’re joking! Okay, used two Ether’s for Yuna’s ‘MP’ and this chest has a Special Sphere. Now, let’s head back this way. In this chest has a Elixir. Yeah, no Behemoth King. You are too mighty at the moment. We’ll show you the respect and leave. Whoops. So many Sphere Level’s gained throughout this Sea Of Sorrow. In this chest, there’s a Level Three Key Sphere. Oops, crap, forgot Auron. So, we’ve reached the end of the Sea Of Sorrow but, I think we missed a chest.
So, I’m gonna quickly equipped Lulu with the Variable Mog and go double back to see if we can find it. There we go. In the chest there’s a Wizard Lance. Yeah, she landed a Mug. Ah, it was Tidus missed, thought that. One more Ether for Yuna even though we’re at the end, in case, we might get ambushed by something hectic. Oh, let’s just, we’ll have to hack away. It’s probably not worth using another Ether. A Double Cast Holy would be pretty epic. And Lulu’s Poison takes this Adamantoise down! Okay, we got some serious Sphere Grid’n to do. Yuna uses a Level Three Key Sphere. Which way do we wanna go here? Spare Change? Okay, we’ll go down. We’ll have a look, Full-Life. It makes sense to go there but I don’t think we’ll need to. Or should we? How many keys have we got?
We need three Level Four Key Sphere’s, we got two. Okay, let’s not go there, perhaps later. Could be a bad move but we will manage regardless. We can always Teleport there anyway when we’ve got enough keys. Although, we are coming back around so heck, we might be able to grab it. Yuna learns the Ability Mug. We might just sit pretty here and see what happens for next Sphere Grid for Yuna. Great Strength increases here for Wakka. We now might take advantage of placing some Sphere Nodes here. Wakka’s gonna be tough as. Auron learns the Ability Slow. Rikku learns the Abilities Blizzara and Watera and Reflex Ability. So, we’re just gonna leave that there for now. We’ll finish off the Sphere Grid next time. So, their’s a ‘Traveller’s Save Sphere‘. I hope you enjoyed this episode and I’ll see you on the next!