![]()
T R A N S C R I P T
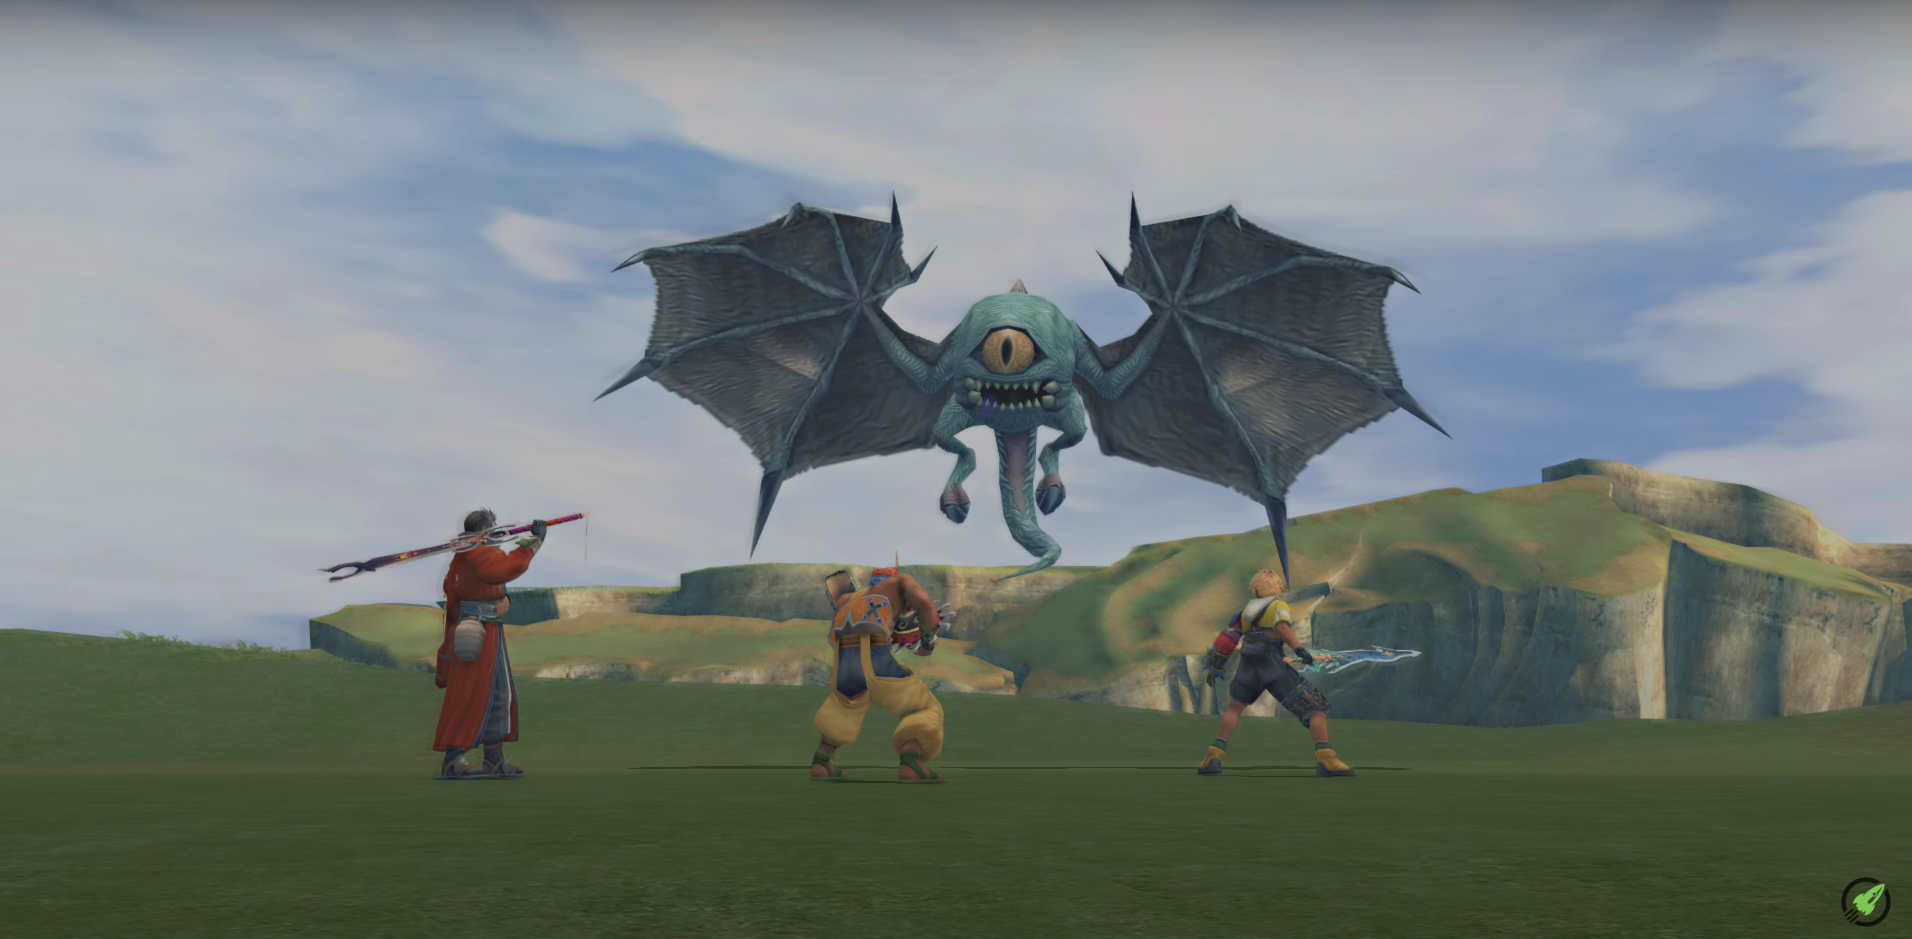
Hello and welcome back to the one-hundred and forty-eighth episode of this Final Fantasy X HD Remaster playthrough. We are here at the Calm Lands Arena and we’re gonna start challenging the Monster Creations we’ve unlocked. And we’ve unlocked thirty-four and we must defeat all thirty-four to unlock the thirty-fifth. And, I think I’ll do this in the order of Area Conquest, followed by Species Conquest than Original. But, we’re gonna be specific about our first-two picks. First being the One-Eye creation! And what we want, is a Triple AP Weapon drop with two vacant slots. Down goes the One-Eye. Alright, so we got a Weapon, but does it have two vacancy slots you need? Yes it does! Okay so, we’re equipped Wakka with Triple Score and we’re gonna customise that with Overdrive – AP. Ah, where’d it go? And also we might do Triple Overdrive for Wakka.
Again, we’re taking advantage of the resources we have, versus, doing too much farming here. And It’s become a Blowout! Okay so, let’s remove the Genji Shield. Okay we can’t so okay, we won’t worry about that. We’ll just take on our next monster choice, but we’re not here to defeat the Don Tonberry. We’re just trying to utilise the Sphere Level gains that you can get um, wait a sec. We’re gonna set Overdrive Mode’s to Stoic for Tidus and Auron but, Wakka has the Weapon we just created so, we’ll set his to Comrade. Now, taking on Don Tonberry again. And we’ll just skip Wakka’s turn every-time and rely on the Auto-Phoenix Ability to keep reviving our fainted characters. And we’ll just keep doing it until Don Tonberry can’t cast Karma on us anymore, when he’s close range. We might need to do this twice first up. But, It’s a good showing of what needs to be done here.
And we’re doing this in this sorta way, just to balance out what needs to be done throughout this next section of the game. So, the next thirty-five say episodes are going to be quite similar to each other. But, they will vary slightly depending on the episode. Based on what we need resource wise, for example. I guess we’ll call this the Don Tonberry AP trick, but there’s a certain name that a lot of people know about. I think he’s reached us now. So, let’s Flee and Wakka should get quite a few Sphere Level’s right now. So, we’re gonna do it one more time just to get to the ninety-nine, it would be ideal. If we could have removed Tidus’s shield. I’m sure we would have got that first go. It’s alright, we’ll quickly do it for a couple of attacks. Alright, one more and that should about get us to level ninety-nine. There we go and now, we’re just gonna do the section of Wakka’s Sphere Grid with ninety-nine moves. And that’s basically the premise for the next episodes. Let’s ah, fill this with a Strength Sphere.
So, Sphere Grid time. I’m not gonna call out the Abilities learned whilst doing this as I normally would. Let’s just power through this! I don’t really think It’s gonna matter which way we go. Now that we’re cheesing it a little bit. But in a strategic way. I don’t like how that Magic Defense Sphere is above the Red Sphere’s. Maybe we should just use it! Yeah why not, let’s just use it now. Hmm so, Wakka’s definitely got a few more skills and abilities added. And quite a number of, well, ninety-nine Sphere Level moves. Everybody knows this is a time consuming process filling out the Sphere Grid. So hopefully, this should balance that out in this playthrough. Alright so, let’s have a quick look at Wakka’s progression and stats et cetera. He’s almost done a full circuit here, that’s cool. Let’s have a look at ah, wait, there we go. Let’s see what Wakka’s working with here. Alright so, their’s a ‘Traveller’s Save Sphere‘. I hope you enjoyed this episode and I’ll see you on the next!