![]()
T R A N S C R I P T
Hello and welcome back to the seventy-ninth episode of this Final Fantasy X HD Remaster playthrough. Before we continue, I wanna quickly mention that, that Al Bhed Primer Volume Twenty-Two that was situated about here where Tidus stands. That’s actually missable so, if you haven’t got it, grab it now before you enter and complete the Cloister Of Trials up ahead. So, this is Bevelle Temple Cloister Of Trials! In my opinion, It’s probably the best, but It’s also very confusing. Fortunately, I know where to go and I’ll try to minimise as much mistakes as possible so It’s a clean playthrough. So, these green arrow platforms will dictate which direction you will turn and go. You also have to time the arrows. If not, you have to reset the track. So ‘X’ to stop it and choose a direction, like so. So, we wanna turn right here and go straight ahead through the next, all the way to the bottom. Now, we wanna grab the Bevelle Sphere out of this sphere-shaped recess there and place it onto the pedestal. And, pushing the pedestal back onto the track and head right back to the very top again. Now, we wanna turn right here if we can, like that.
Grabbing the Bevelle Sphere out and putting it into that recess, which will now bridge a gap on one of the path sections, right there. Now, we wanna ride this platform off the edge to reset it. Now, we wanna skip this one and turn left at the next, opposite from where we just were, like so. Grab the Bevelle Sphere from the wall. Putting it in the pedestal again and we’ll reset the track once again riding it to the end. Now, we wanna turn right here to the second level below and turn left. This you have to time right about now. Skipping the next two arrows to the very end. And turning right at the very end. If you fall off the edge like I just did. It’s okay, cause your on the same path going straight to the very end again. Just gotta go straight. Sometimes the arrows don’t line up right and you have to time it better. So there we go. Were moving the Bevelle Sphere and placing it in the left wall which creates a platform there we can walk on. But first, we need to go grab the Glyph Sphere which is what we’re doing right now. And then, we’re coming back here. Alright so, we go straight from here, skip the next and then right here.
And this is where the Glyph Sphere lives. The one and only in this Temple Cloister Of Trials. And It’s translucent looking. It almost looks like we haven’t even got it in the pedestal. So now, we wanna turn right at the very end. If not, It’ll reset the track and we’ll have to do it again. There we go, got it! Grabbing the Glyph Sphere from the pedestal and opening this Glyph doorway. Now we can acquire the Destruction Sphere. Place it back in the pedestal and we’ll reset the track. So from here, we wanna go straight again. Skip this one up ahead and then turning right at the next. Now, we wanna put the Destruction Sphere in the spot where we originally grabbed the Glyph Sphere. And that will allow us to go up that diagonal/vertical platform there, which is the exit. But before we go there, we gotta grab the Bevelle Sphere. Which is this right, right now! On the left wall there. So this is the final stretch. It’ll reset us automatically. Straight! And then the first right, right now. So from here, we need to actually push this pedestal downward to access that next path. And that’s pretty much the puzzle complete.
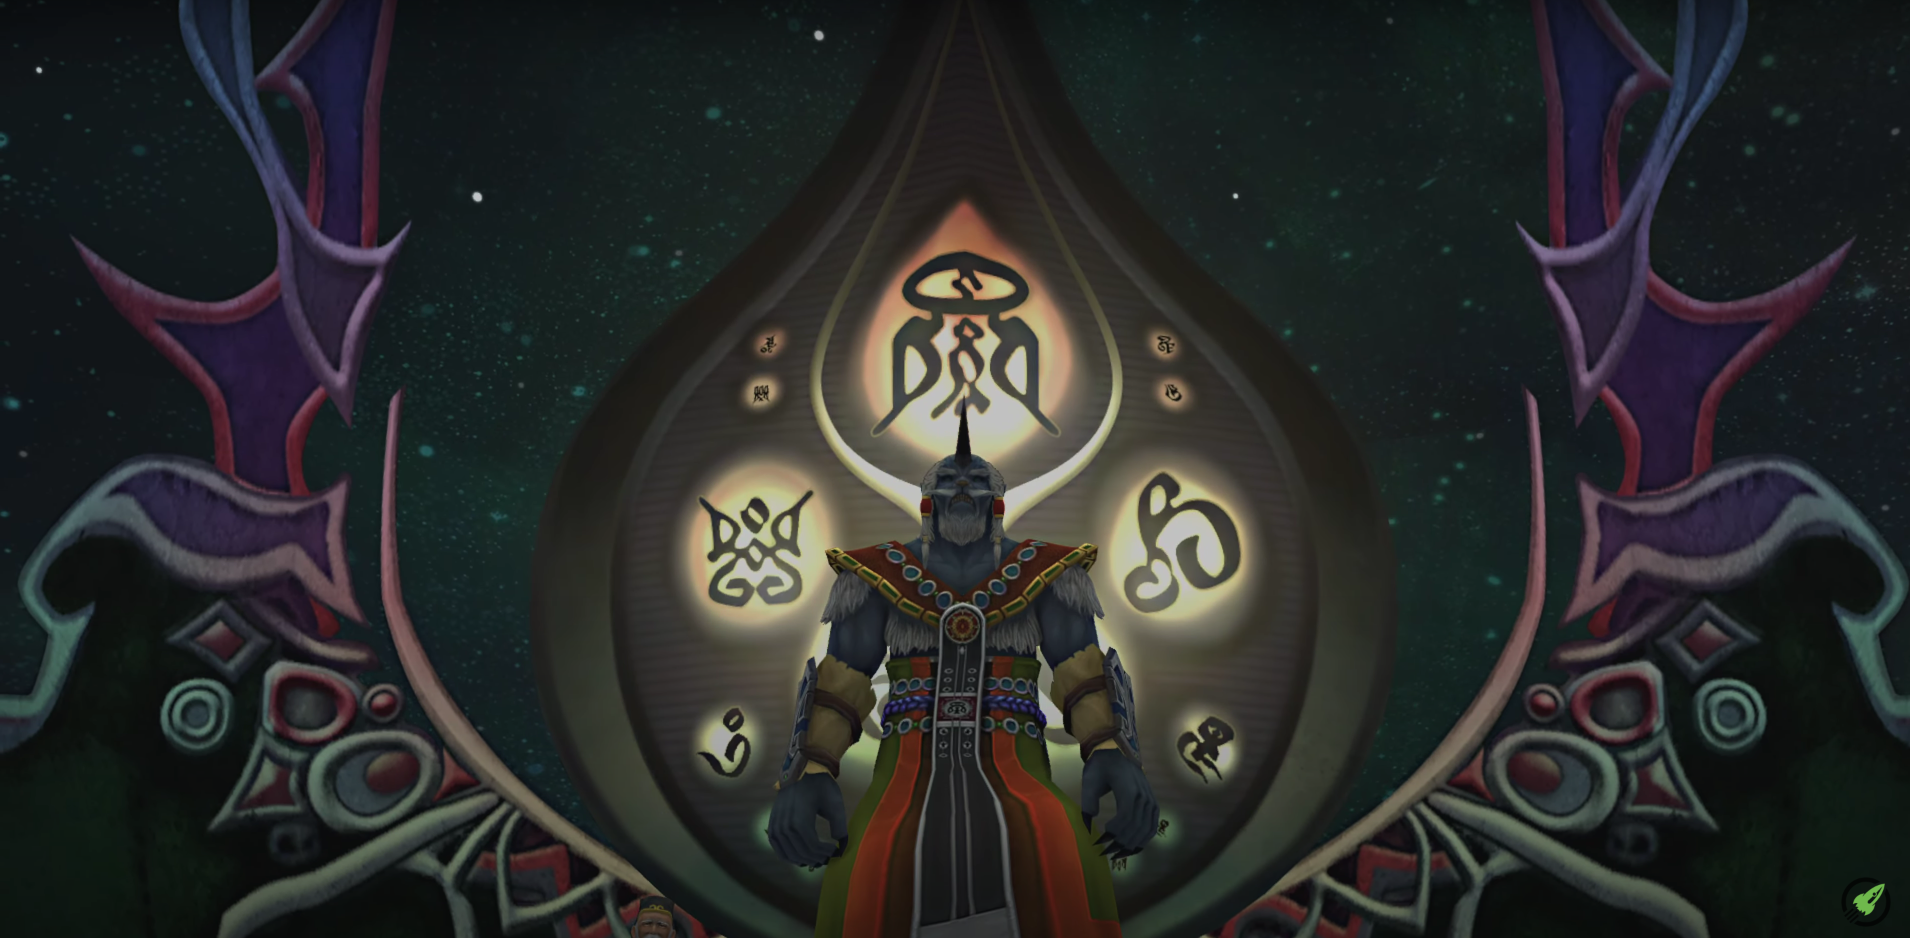
The Destruction Sphere allows us to go up here. So now, we’re gonna grab the Bevelle Sphere from the pedestal. Bring it up the stairs and dock it in that sphere-shaped recess. Which will give access to that chest across there. But first, we collect the Destruction Sphere chest to the right. Which is unavoidable and contains a HP Sphere. And now, we stand on that to transport the pedestal to the top. And than go left with it to get Kimahri’s Weapon Knight Lance out of that chest here which is pretty strong, we’ll definitely equip it. And that’s it, that’s how you complete it properly! So, Tidus and that just broke there way into the Chamber Of Fayth and rescued Yuna. And now, we gotta stand trial because we’ve been busted. But, Yuna got Bahamut Aeon! And we’ll keep the default name. To the condemned! Stone panels are scattered throughout the Via Purifico. Step on one to transport yourself to the next panel in the indicated direction. Well, we have Yuna back in her own party of one. A lot was just revealed about Yevon and the Spiral Of Death et cetera in Spira. So, their’s a ‘Traveller’s Save Sphere‘. I hope you enjoyed this episode and I’ll see you on the next!