![]()
T R A N S C R I P T
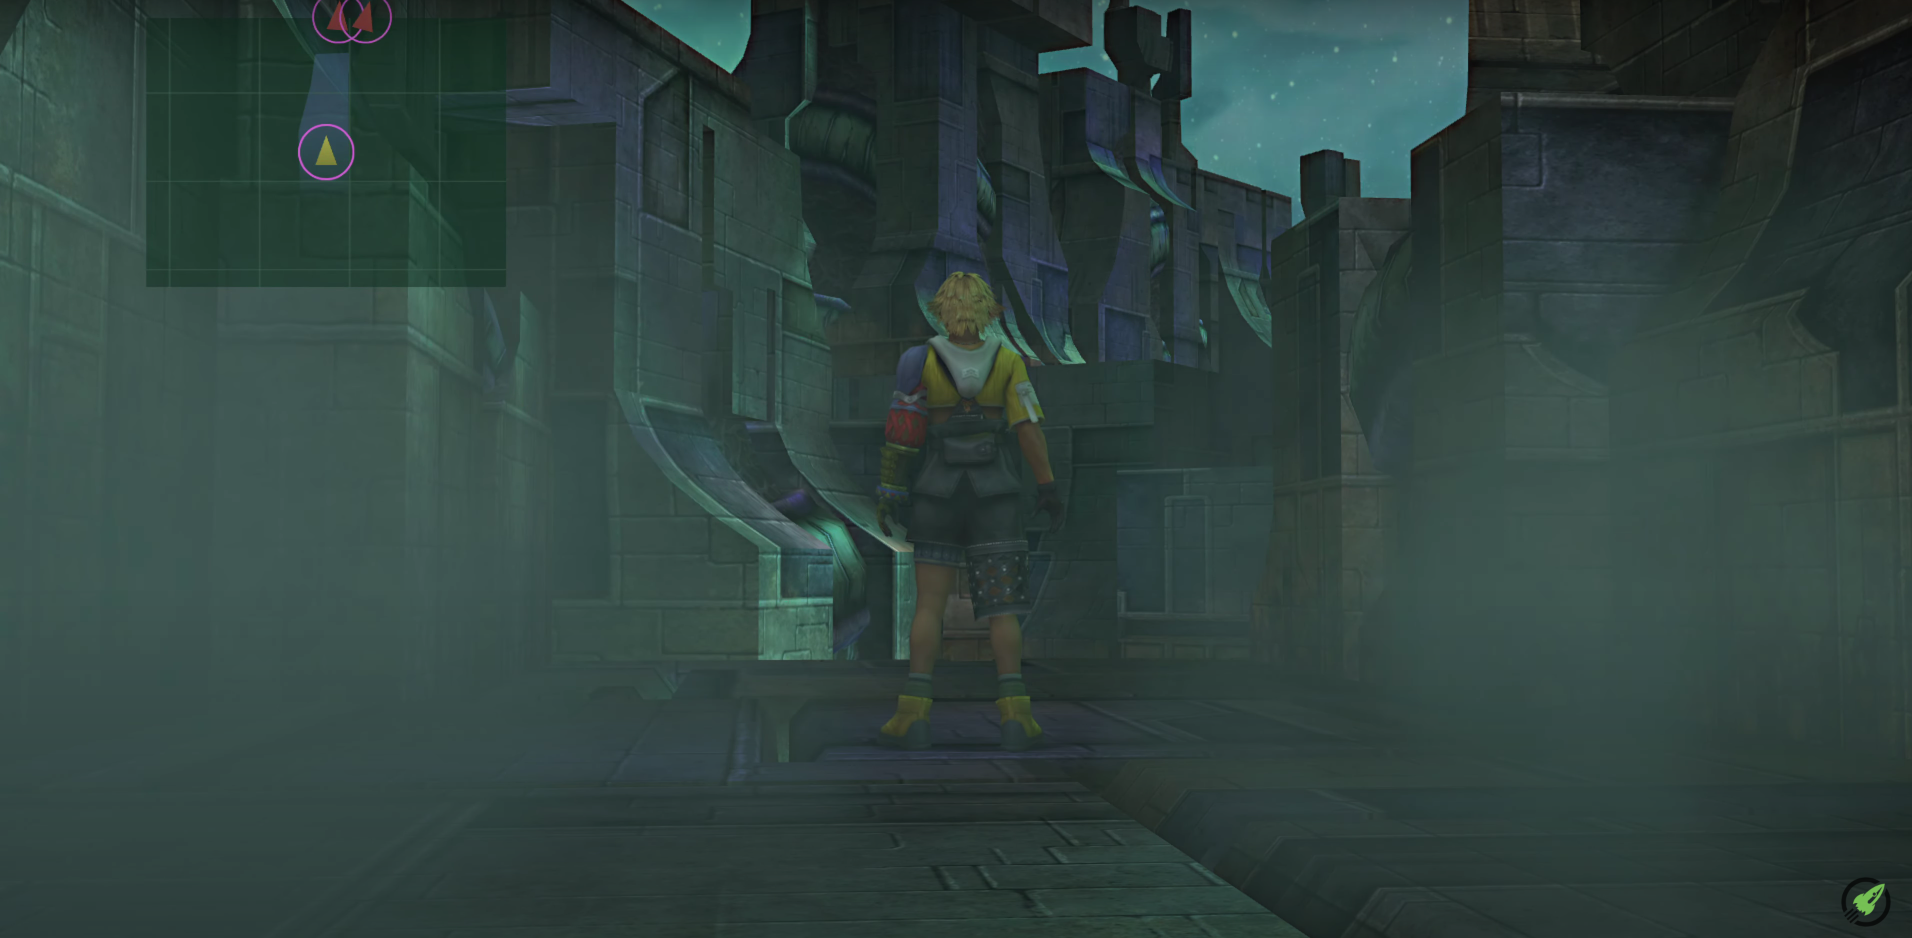
Hello and welcome back to the one hundred and forty-first episode of this Final Fantasy X HD Remaster playthrough. So now, we’ve reached the City Of Dying Dreams and we’re gonna play this a little different than we normally do. So, we’re gonna equipped Lulu with her Variable Mog, which has No Encounters for the first part. And now, we’re gonna run throughout this area collecting all the hidden treasures that we can. And then, start killing fiend’s to unlock this door pathway. So, we took that lift and in the chest there’s a Four-on-One Weapon for Wakka. Behind that falling wall their’s a chest with a Defending Bracer! In the corner where this Glyph is, we have a chest housing a Megalixir! Down here we have twenty thousand Gil in that chest. And we’ll take this hydraulic lift. And up here, at the top their’s HP Sphere and Defense Sphere! Now, we wanna get over to here to get that chest.
And this is where you get it jumping down the ledges one-by-one. And the chest has a Laevatein Weapon. So now, we’ll head back to that door that required us to capture ten fiends back where we started. And, we can then start battling the tough fiend’s here in the City Of Dying Dreams. We might even be a bit specific about the encounters just to speed things up. So, a couple of Flee’s here and there. Alright so, ten fiends still seek eternal repose! This is optional by the way but we’re gonna do it. Re-equipping the Onion Knight. Ah, off to a bad start. We’re just gonna use a Phoenix Down. That took way longer than it needed to. Yeah so, we might stick to capturing the weaker fiend’s like them, Ahriman and Exoray. So that should be ten fiend’s killed. The fiends now freed, release the seal of Yevon just to find another sealed wall. Eight fiend’s still seek eternal repose! Yuna will give you the eternal repose that you ask for. Oh, so It’s you.
So that’s about twenty fiend’s. Another door? So, It’s thirty-five fiend’s in total we need to free them. Oh, we got lucky there. So, we are avoiding a lot tougher fiend’s here, but It’s also quite strategic to be doing this. Saves a lot of time and you still get a ton of ah, ‘AP’ regardless by Overkilling the Exoray and Ahriman. So, it probably works out to be a better strategy. Oh okay, we might take these guys on, the Gemini’s. We’re having very bad luck getting the Ahriman and Exoray’s now. The ridiculous thing is, we only need to find them one more time. So let’s just take these guys out again. Ah, let’s just take on this Adamantoise. We only need one more fiend anyway. The fiends now freed. Release the seal of Yevon! Thirty-five fiend’s released just to get this chest, which has a Level Four Key Sphere. Just cause of the time consumption, we’ll just focus on the Ahriman and Exoray’s towards the end if they show.
We don’t need to drag this out any longer. And that about does it for the City Of Dying Dreams. It took that long for these three to show up again, crazy! Alright so, we’re gonna do some Sphere Grid. I just realised I missed one, typical. Ah, we’ll get it later. Let’s see if we can go, not there yet. Rikku learns Bio Ability. Yuna uses, maybe not, we haven’t got enough. We did, but now we don’t. That’s alright, we can come back for that. We’ll push on with Yuna. I want her to keep getting stronger. I don’t think we have a Fortune Sphere currently. So, Wakka will need to come back here and Wakka learns Entrust. Let’s check, nah. Lulu learns Flare, awesome, and unlocks the path with a Level Three Key Sphere to learn Drain. Ah, we’ll go probably that way. We’ll go this way. So, the characters stats at a glance and the Sphere Grid progression. So, their’s a ‘Traveller’s Save Sphere‘. I hope you enjoyed this episode and I’ll see you on the next!