![]()
T R A N S C R I P T
Hello and welcome back to the one hundred and thirty-seventh episode of this Final Fantasy X HD Remaster playthrough. So today, we’re gonna be powering up each of the characters Celestial Weapon’s. But before we do that, we’re gonna quickly search for some coordinates and unlock all the areas. So, we’ll start off with the Omega Ruins! Which we’re not gonna visit but, It’s just so It’s ready to go. Located Omega Ruins! Ah, Sanubia Sands located! Mi’ihen Ruins about here. Good old Besaid Falls located. Speaking of Besaid, there’s a few more spots coming up. Located the Battle Site! Okay so, they’re all the coordinates in Spira. Now, to input the final two passwords that we have. So, we’ll start off with ‘VICTORIOUS’. We’ve already deciphered the Godhand, the first password. So all in caps and the final password ‘MURASAME’ in caps also. So now, let’s go pay a visit to these locations all displaying a ‘NEW’ icon beside it.
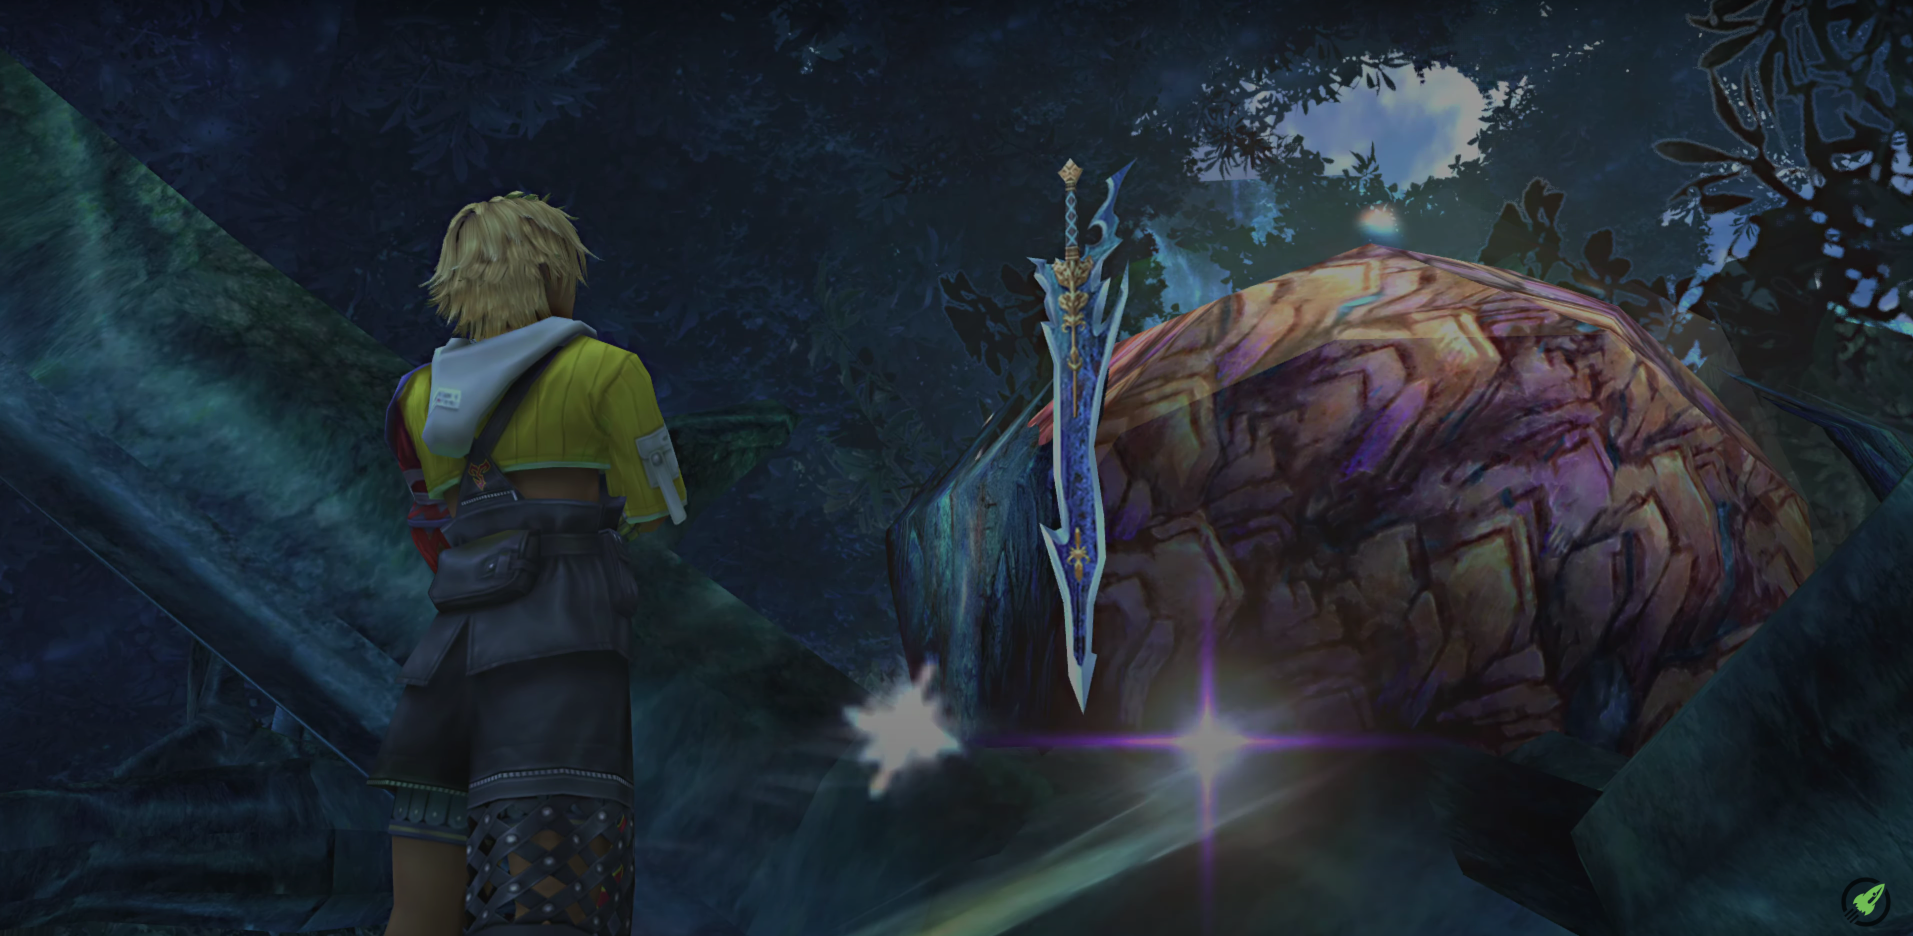
First, we’ll go to Besaid Ruins One and collect the hidden treasure chests in the areas. With decent Weapon’s and Armor but there’s the Victorious in that chest. But, there’s only really one item we’ll be using out of these collections for the time being. Besaid Ruins Two. In the chest lies the Murasame, the Weapon for Auron. Now, to Besaid Falls which is a nice location. Perhaps you’re familiar. In the chest there is a Dragoon Lance for Kimahri. Off to the Mi’ihen Ruins which is definitely a very cool location. We got some one there cheering us on. There’s Tidus in the background and in the chest, there’s a Sonar Weapon for Rikku. So, we’ll fly to the Battle Site now. In the chest there’s the Phantom Bangle, which we might as well just quickly equip for Lulu. Her health’s gonna drop by almost five hundred points but I like the Eater effects. The Sanubia Sands we can uncover Tidus’s Weapon Ascalon in that chest. So, Omega Ruins will sit there for now, we’ll be there at some stage.
And we’ll head over to Lake Macalania to go and power up our Celestial Weapon’s. We have all the Sigil’s and Crest’s! It’s a very good time and moment to reach this point. Bit of a grind to get here. And here we are. You have the Celestial Weapon’s! Who will present their Weapon? We’ll just do it in the order that It’s in. Complete the Ritual! The Weapon’s power has grown the Caladbolg. And this will complete the ritual. So, It’s two techniques for the Weapon per Crest, or Sigil and the Caladbolg is fully powered. And that’s the process there. I don’t know why It’s showing Tidus’s name there again. So, Yuna’s Nirvana has attained It’s maximum power. Auron’s Masamune has reached It’s maximum capacity of power. Now for Kimahri, Kimahri’s Spirit Lance is maximised! Wakka’s World Champion is fully functional. Lulu’s Onion Knight has grown to It’s highest power. And finally Rikku, she gets to walk her’s in and her Godhand ritual is complete.
So, I know that we’ve done em’ all but I just wanna click on someone to see what it does. Ah yeah, the Weapon has already attained It’s peak power and that’s it, pretty cool. So, I’ll quickly equipped the Weapon’s and look at em’. So, the Caladbolg has the: Break Damage Limit; Triple Overdrive; Evade & Counter and Magic Counter. World Champion has: Break Damage Limit; Triple Overdrive; Double AP; Evade & Counter. Mura Ah, Masamune has: Break Damage Limit; Triple Overdrive; First Strike and Counter Attack. Onion Knight has: Break Damage Limit; Triple Overdrive; Magic Booster; One MP Cost. Godhand has: Break Damage Limit; Triple Overdrive; Double AP and Gillionaire. Spirit Lance has: Break Damage Limit; Triple Overdrive; Double AP; Evade & Counter. Nirvana has: Break Damage Limit; Triple Overdrive; Double AP; One MP Cost and that’s it. So, their’s a ‘Traveller’s Save Sphere‘. I hope you enjoyed this episode and I’ll see you on the next!
